


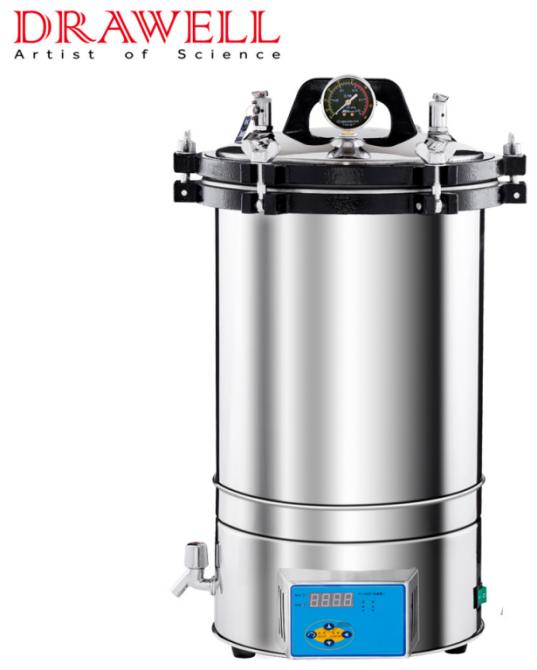
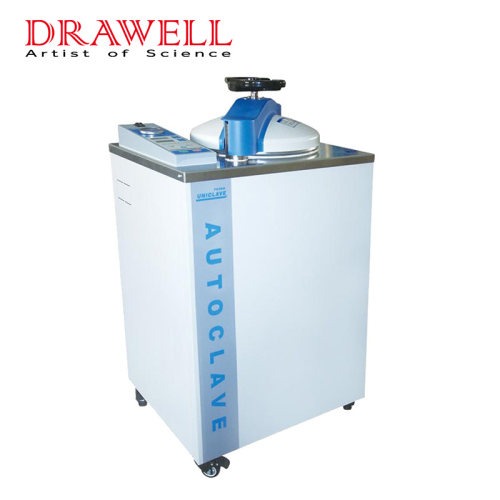
Autoclaves serve as indispensable tools across various industries, including healthcare, laboratories, and industrial settings, ensuring the sterilization of equipment and materials. To maintain optimal performance, prevent contamination, and prolong their lifespan, regular cleaning and maintenance are imperative. This comprehensive guide will delve into the step-by-step process of cleaning an autoclave, covering essential procedures and best practices.
Step 1: Preparing for Cleaning an Autoclave
Before commencing the cleaning process, it's crucial to take specific precautions and gather necessary supplies:
Precautions: Ensure the autoclave is powered off and unplugged. Wear appropriate personal protective equipment (PPE), including gloves, goggles, and a lab coat.
Gather Cleaning Products: Collect required cleaning supplies such as mild detergent or autoclave cleanser, water, a soft cloth or sponge, a brush or pipe cleaner for challenging areas, and a clean towel for drying.
Step 2: Routine Cleaning an Autoclave
Routine cleaning is essential for maintaining cleanliness and efficiency:
External Surfaces: Wipe external surfaces with a moist cloth or sponge dipped in a mild detergent solution. Pay attention to spill-prone areas like the door handle, control panel, and gasket. Rinse with water and dry thoroughly.
Inner Chamber: Clean the inner chamber using a soft cloth or sponge soaked in a mild detergent solution. Gently wipe surfaces to remove residue, stains, or debris. Stubborn stains or mineral deposits can be addressed with a water and vinegar solution.
Step 3: Deep Cleaning an Autoclave
Deep cleaning tackles persistent stains and buildup:
Cleaning Removable Parts: Clean removable parts separately with the same cleaning chemicals. Rinse and dry them before reinstalling.
Descaling the Chamber: Prepare a descaling solution and pour it into the chamber to address mineral deposits. Scrub the walls and bottom with a brush or pipe cleaner, then rinse thoroughly.
Cleaning the Gasket: Wipe the autoclave door gasket with a soft cloth or sponge and a light detergent solution. Rinse and dry meticulously.
Step 4: Maintenance Tips After Cleaning an Autoclave
Regular maintenance is crucial for optimal performance:
Examine and Clean Filters: Regularly inspect and clean filters to maintain proper airflow and prevent blockage.
Seals and Gaskets: Check seals and gaskets for wear or damage and replace if necessary to ensure an airtight seal.
Calibrate and Validate: Follow specifications for calibration and validation procedures of autoclave manufacturer to ensure accurate temperature and pressure readings and verify sterilization effectiveness.
Summary
Regular cleaning and maintenance are essential for the effective sterilization and prolonged lifespan of autoclaves. By following these procedures and prioritizing safety, you can establish a regular cleaning regimen, undertake deep cleaning as needed, and keep your autoclave in optimal working condition. Refer to the manufacturer's instructions for specific guidelines tailored to your autoclave type to ensure reliable and safe sterilization operations.
Comments (0)